Filming “Lost and Found” Part 2: Tech Rehearsal + Show
In this follow-up to Part 1, I’ll cover aspects of the Tech Rehearsal and filming two live performances using two very different tube cameras.
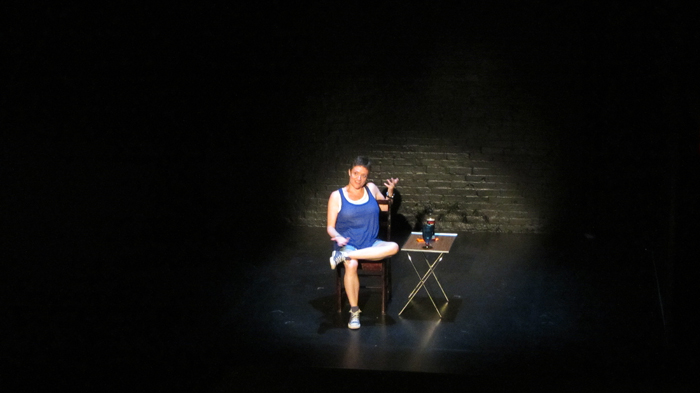
Prior to filming two performances at the Theatre Passe Muraille Backspace, I filmed a tech rehearsal of Lost and Found, quickly setting up a small tube camera and Canon miniDV camera used to record what was essentially a test to see how the performance would look if shot with a consumer-grade camera (even though the actual performances would be captured using a broadcast quality ENG unit).


I’ve used the JVC GZ-S5 before on some tests, and even used it to shoot a few shots in BSV 1172, but it was clear that compared to getting footage from well-lit objects, using the GZ-S5 for a live performance was a different matter.
I won’t dwell too much on its flaws because once BSV 1172 is completed, I’ll create mini-featurettes for each of the 8 cameras used in the production of that doc, which includes the GZ-S5, but let’s take a peek at this short excerpt of the tech rehearsal, where the raw footage is to the left, and the slightly tweaked footage is to the right.
Also make a note of text to the screen left that point out filter and iris settings as the camera’s adjusted. The audio comes from its front stereo mic which naturally picks up nearby handling noise and can’t handle hot levels:
On Vimeo:
On YouTube:
What you likely noticed in the footage is its inherent soft focus, grain, and green hazing to the left, which pretty much identify the limitations of a single small tube that’s supposed to capture all the information using its limited technical resources.
Although not as green-hued as worn Newvicon tube cameras (see the video on the Sharp QC-54), old single-tube 1/2″ Saticons are only slightly better, but the GZ-S5 also features a very modest zoom lens (8-48mm) that’s pretty unforgiving when the central figure moves a bit, and as for zooming out even slightly to get a wider picture, you’ll notice in the clip’s end how things get blurry fast.
The GZ-S5 isn’t as light as it seems for such a small camera (it’s a little back-heavy) but it is pretty compact and powers up fast. Main issue: although iris has a manual setting it’s a slider bar (see detail picture below), and not unlike Sony’s HVC series of Trinicon cameras (like the HVC-2800, also used in BSV 1172), there’s lag time between adjusting the slider and getting an adjusted image that isn’t hot or underexposed.
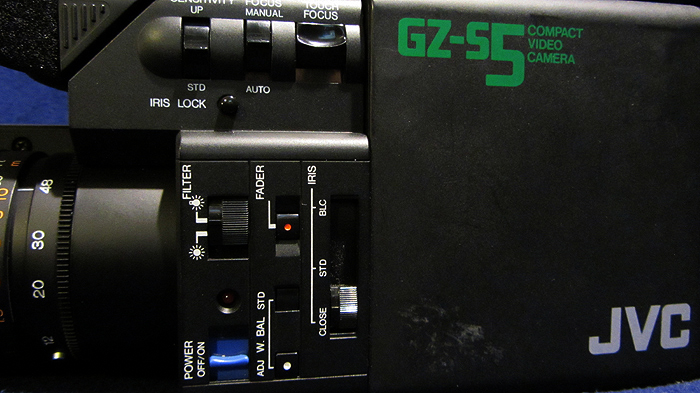
Finding the right exposure during a live setting means one’s adjustments effect more of the initial recording, and the camera’s filters for Daylight / Tungsten didn’t fix poor white balancing nor temper hot levels.
Even when a human form is properly shot, there’s that green haze that’s permanent in the recording, and the camera seemed prone to electrical noise in the theatre (hence the angled lines) which aren’t an issue with the BY-110U, because being an ENG camera, the guts are packed inside a shielded metal body (which is why ENG cameras weight as much as a Toyota).
The tech rehearsal was helpful in getting a feel for the performance, but it also exposed the limited camera positions: within the audience, and to the audience’s right side on a railed platform.
The Backspace has steep seating, and with a small digital camera and thin tripod, shooting the performance to the right side of the audience seating would be fine, but you can’t plop a big camera & tripod there because a) you’re gonna block someone’s view, b) you’re gonna distract someone with a small monitor, and c) if I recall, the air conditioning vent is close to the railed platform which would affect any miking from the camera’s position within the audience.
The tech rehearsal was shot from the back row, slightly to the right, which is similar to the position I used for one of the performances, but bear in mind a large camera + tripod can take up two seats, robbing the house of an admission if it’s a full turnout. The side platform is perfect for camera set-up and space, it has available AC outlets, but it’s an angle that’s problematic because the railing blocks off part of the stage.
Anytime a figure moves towards the screen right, the railing shadow pops in, and should someone move farther right, they’re gone from view. This second making-of featurette offers two examples of the two camera positions that ultimately proved challenging in finding smooth edit points.
On Vimeo:
On YouTube:
* * *
Introducing the JVC BY-110U
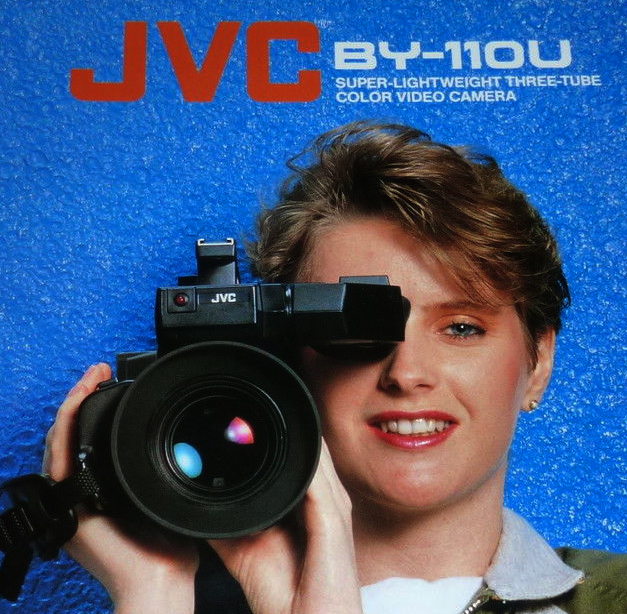
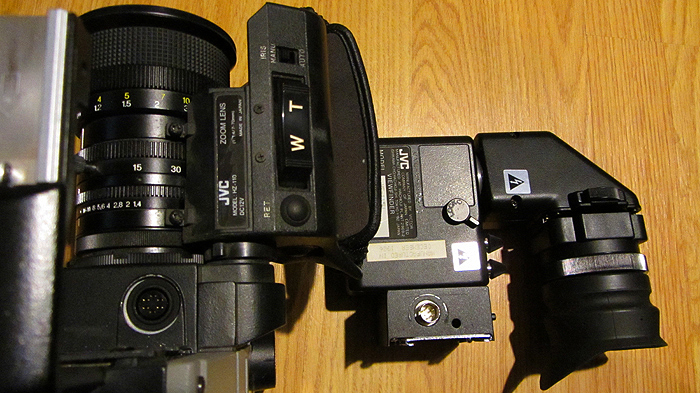
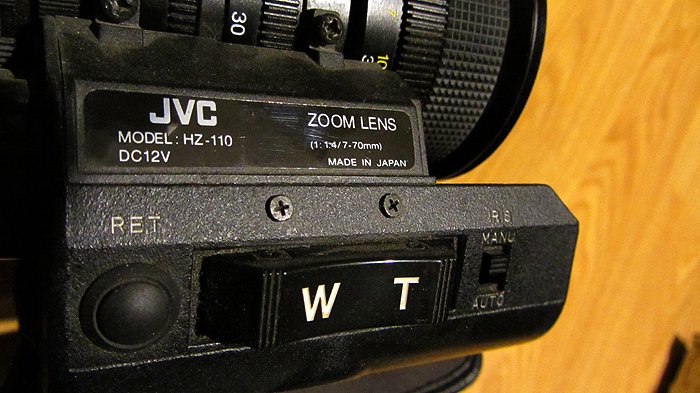
When new, JVC’s BY-110 actually came with a series of options – shotgun mic, larger viewfinder, 2 types of zoom lenses, B&W montior, and tele (1.5X) and wide angle conversion / adapter lenses, and much more – that supposedly would help one pick the right camera package, but in designing the camera, JVC made it a bit too compact.
Again, I’ll get into the parts of the camera in a separate featurette that’ll cover lenses, viewfinders, etc. in greater detail, but at the time of filming I had the larger 16:1 zoom-lensed package that came with a small 1″ viewfinder that’s frankly ridiculously tiny – it’s tough to notice small details compared to the larger optional 1.5″ viewfinder that’s much, much better (although the studio 4″ monitor would been more swell).
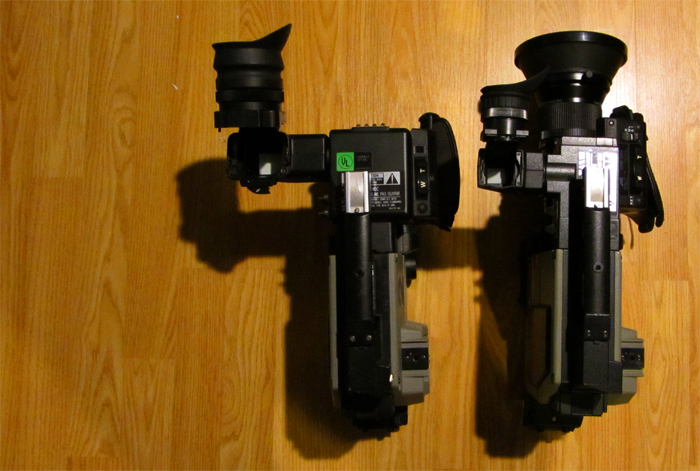
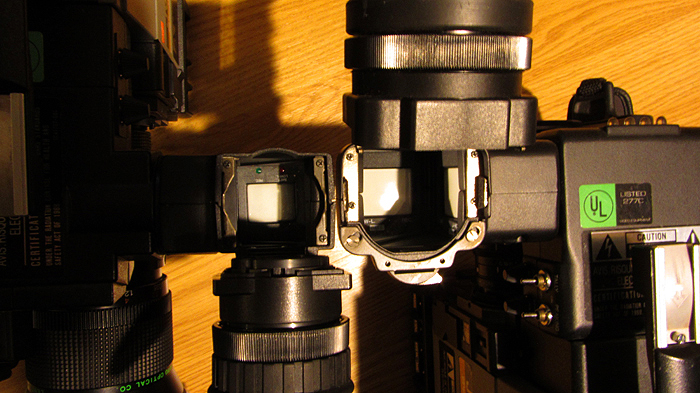
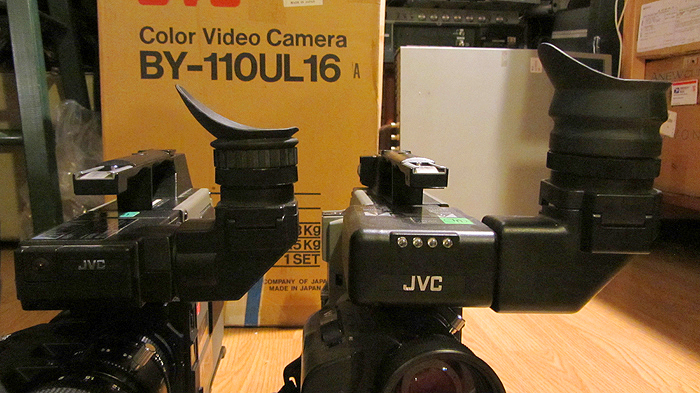
Staring with a page from a vintage brochure, here are some images comparing the viewfinders from the camera used to film Lost and Found and a second ‘basic package’ camera (sporting a 10:1 lens and 1.5″viewfinder I picked up months later):
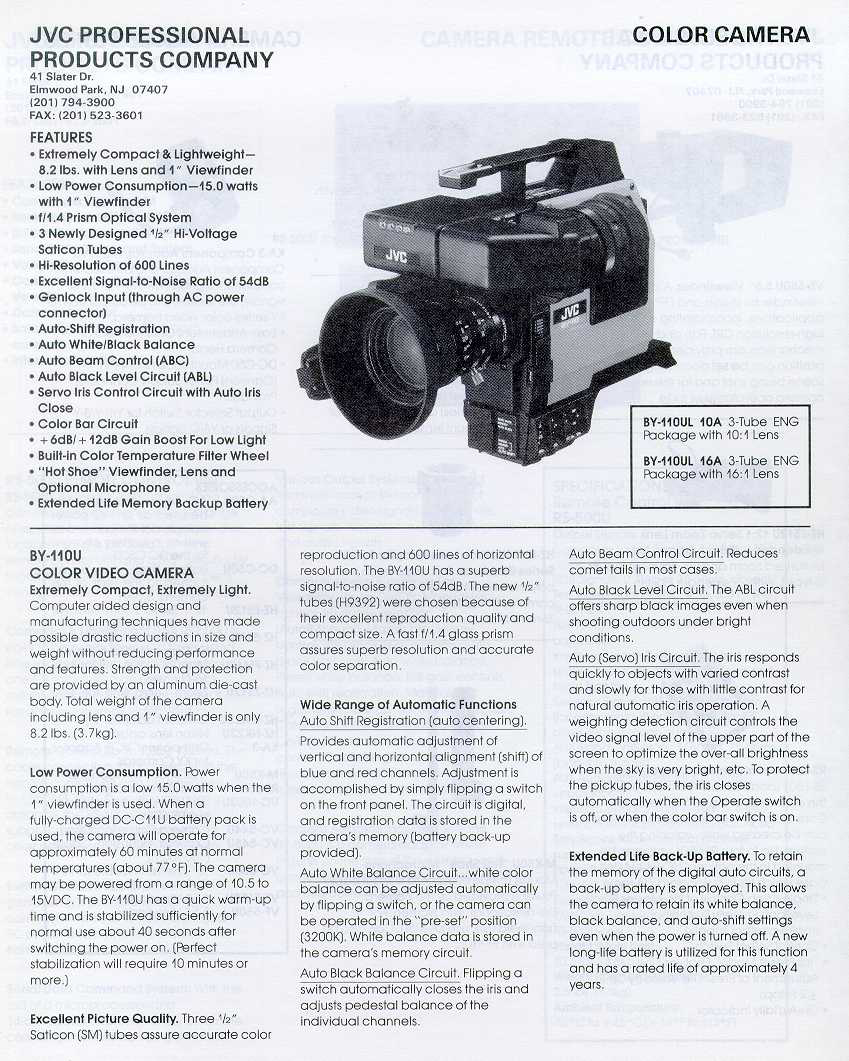
With a max (high) resolution of 600 TV lines, the video signal of each performance was sent via composite BNC to a Sony GV-D1000 miniDV recorder. The Sony recorder does have its own LCD colour monitor, but during filming it was too tedious to glance back & forth between the camera and a recorder.
A topside monitor and remote for the zoom may have made things easier (one can only use a remote for either focus or zoom, but not both), but I kind of like to think of a camera as an extension of one’s body, so using the eenie-weenie viewfinder was the better (but not necessarily the best) option, given it kept me closer to the zoom and focus rings.
One caveat: this was the first time I used a medium-sized ENG camera in a live setting, so the learning curve kind of happened on the spot ; the flaws in the camerawork are mine to blame, and I’ve a lot of respect for news cameramen & camerawomen with great instincts. (It also helps if you use the same camera day in and day out, because it literally becomes an extension of your eyes, arms, and legs.)<
The tests I made prior to filming were in an obviously controlled setting, making the footage both sharper and colours more balanced.
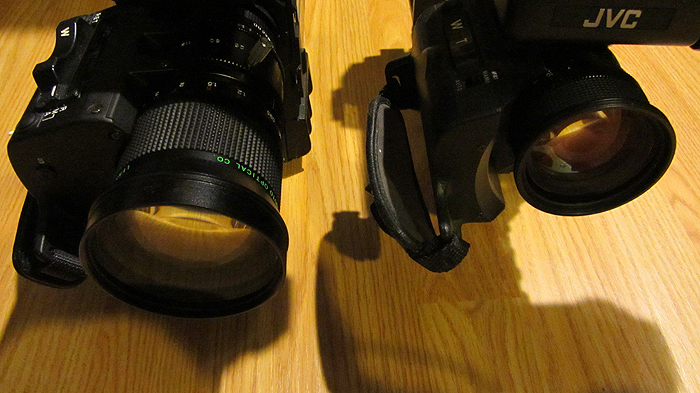
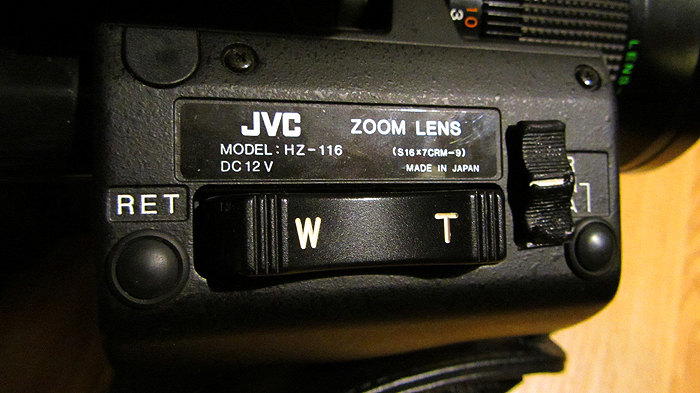
The 16:1 zoom lens is quite fluid, as is the focusing, and the long lens has quite a range. The 10:1 lens that comes with the basic package is apparently custom fitted with internal camera adjustments, and may not be transferable to a long-lens package (as denoted by a label on the camera)
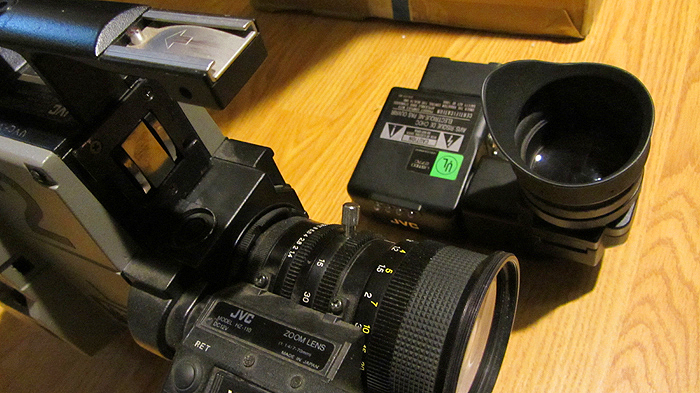
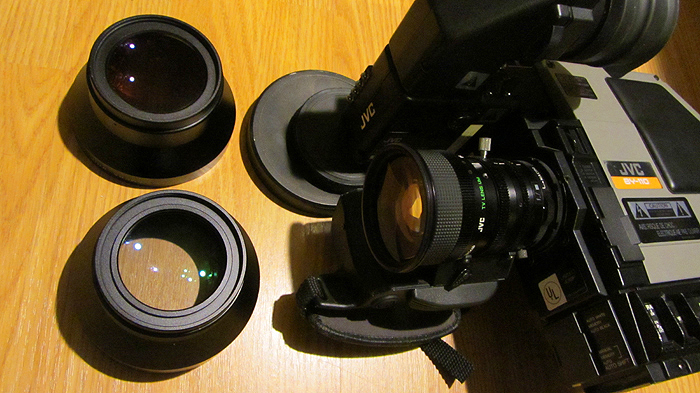
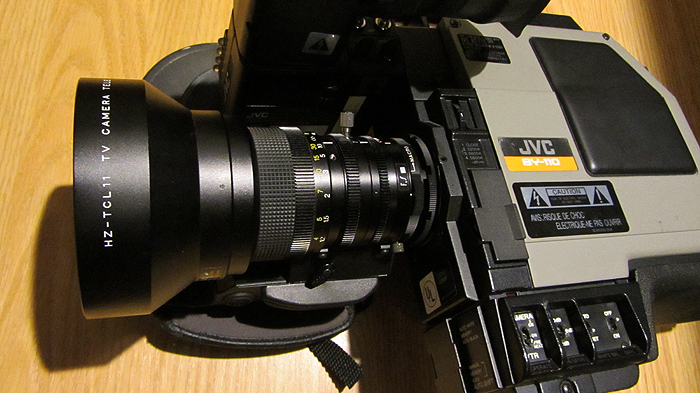
Other unusual feature of the 10:1 lens: the tele and wide conversion lenses cannot be used on the 16:1 lens due to the unique double threading on the lens’ inner and outer rings. Here are some comparative shots of the two camera packages, and the tele (HZ-TCL11U) and wide (HZ-WCL11U) conversion lenses:
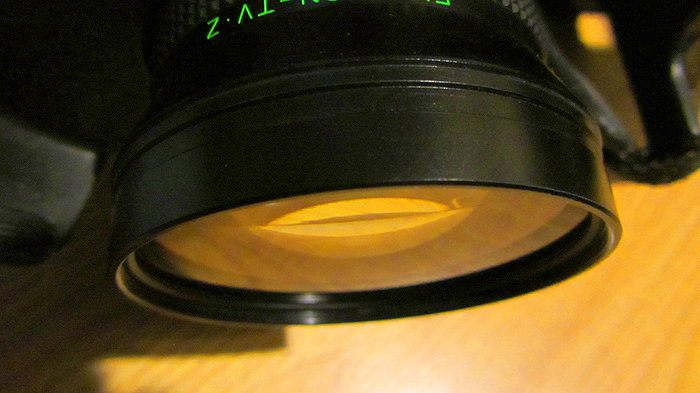
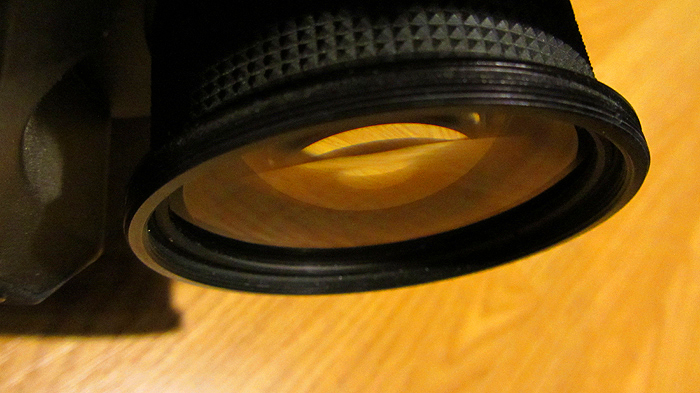
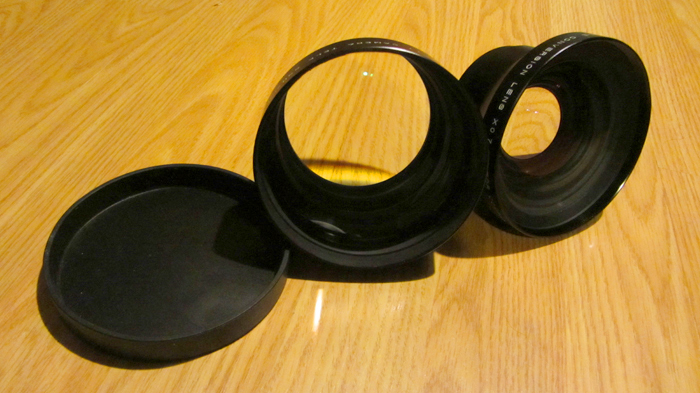
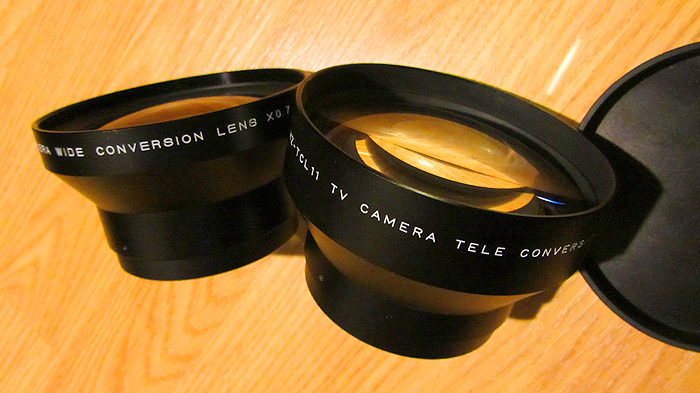
Although the 10:1-outfitted camera wasn’t used in the performance shoot, it was used to capture the background plates for the edited video’s Main and End Titles (seen in a separate excerpt featurette), so here are some additional gratuitous shots of that camera’s conversion lenses in detail, and the camera outfitted with each chunky add-on:
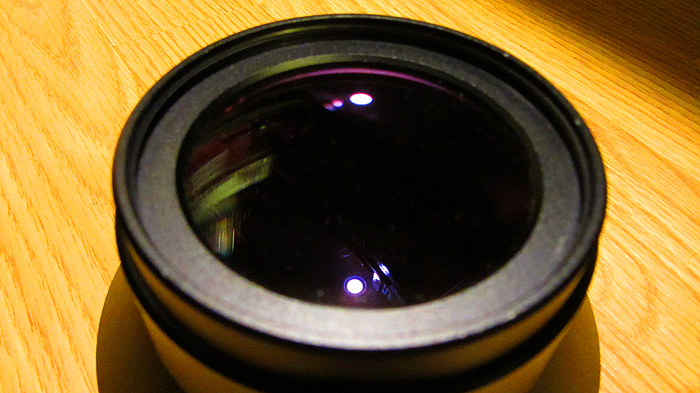
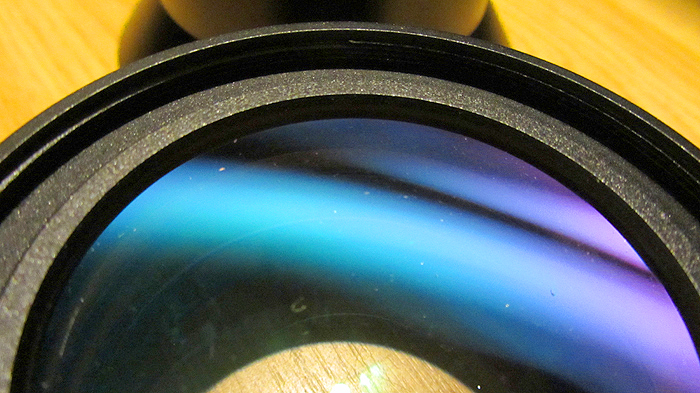

Those RCA and Canon tele and wide adapters I used for BSV 1172 on the Canon VC-50Pro are chunky, but they’ve less heavy glass and metal than JVC’s custom equivalents, and the double-threading seems to have been a precaution rather than a propriety design, making sure once threaded, the bulky things would never get loose and tumble off during focusing, nor wear out the threads. (They also make it harder to ding the main lens during threading, which was probably helpful when adjusting adapters during an ENG shoot.)
Audio-wise, all audio from the two performances was recorded using a Zoom H1N, with the audio feed recorded in tandem with picture on the Sony miniDV recorder. In a later blog I’ll detail the creation of a 5.0 surround track, but for now I’ll say that the mic positions for each camera setup yielded different ambiances, and the house air conditioner did kick in at different times, necessitating some EQ’ing in the final mix.
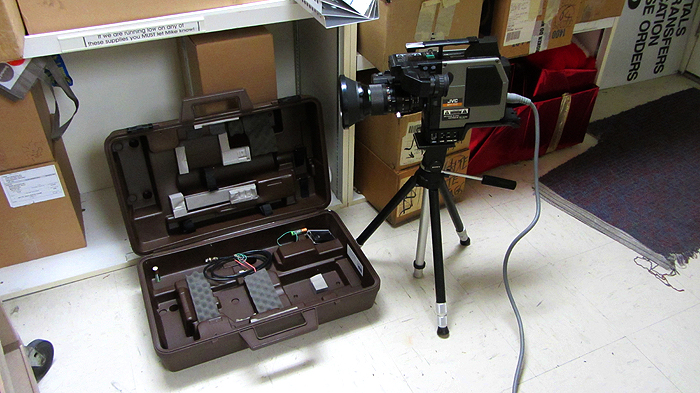
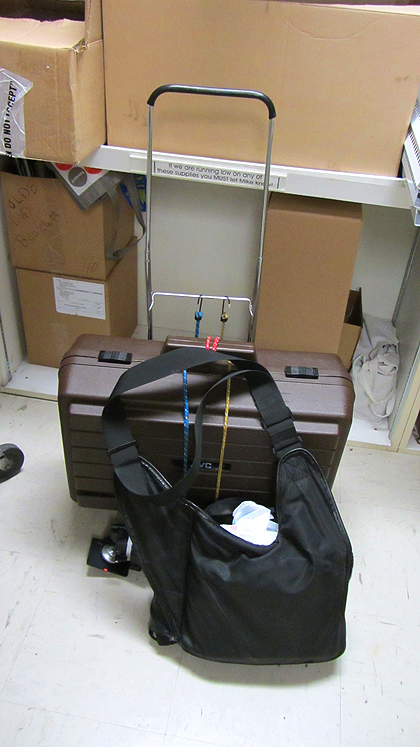
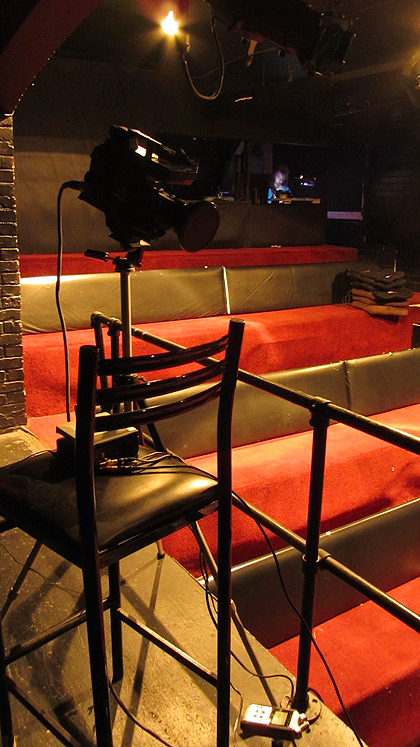
The following image shows the camera package that was hauled onto the subway + streetcar to get to / from the theatre, followed by some snapshots of the positioned camera to the right side.
Prior to any filming, at a different location I set up the camera and let the tubes warm up for 15 mins. to ensure they were warm and ready to deliver balanced colour. JVC’s ad pap says the camera’s got a fast warm-up time, but if you’re not in a rush and have the time, makes sense to get the tubes warmed up so there’s minimal colour variations.
Unlikes later CCD cameras, you have to let tubes warm up, but the age of these cameras mandates a bit more attention. This BY-110 gets a little weird when it’s turned on and one pans down right after – the image destabilizes and goes purple – so letting it get ready is important.
The other BY-110 I have needs time to warm up because the image is initially quite unstable. (I’ll post samples of that camera’s first warm-up after probably a decade of inactivity, but suffice it to say, it actually works fine after going through its spazzing-out time.)
In addition to letting the tubes warm up, you should register the tubes by using a registration chart to align each of the three tubes to avoid what resembles bad colour hazing, or worse, offset layers of red, green and blue.
JVC’s prior ‘orange brick‘ ENG cameras like the KY-1900 required one use a small jeweler’s screwdriver to manually align the tubes (which was apparently necessary several times during a shoot), but the BY-110 features auto registration (no screwdrivers required) plus a memory of prior settings.
In Part 3, I’ll get into transferring the footage from miniDV to the hard drive, and dealing with the footage witnin Final Cut Pro 7 in a Mac environment, but in closing, a big thanks to Marilla Wex and director Lara Johnson, and the theatre’s great tech crew who provided extension cords from the control room for an AC feed when taping at the back of the audience, and use of right side platform to film the second performance.
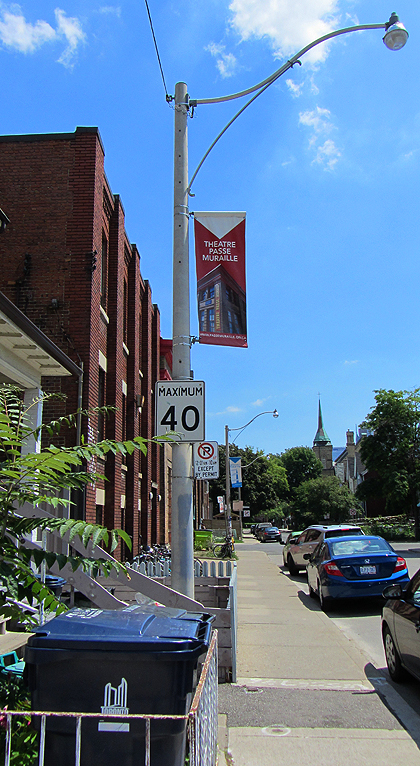
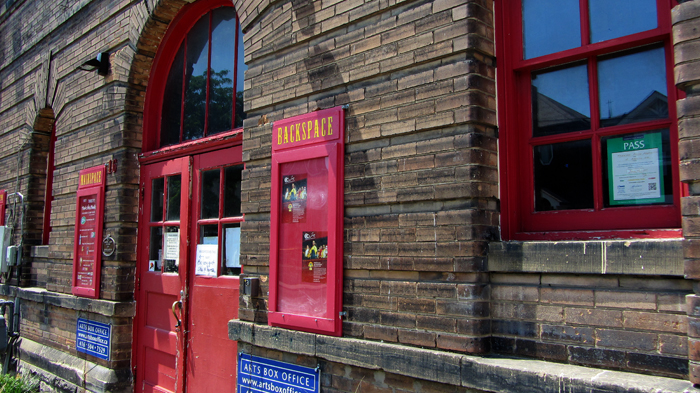
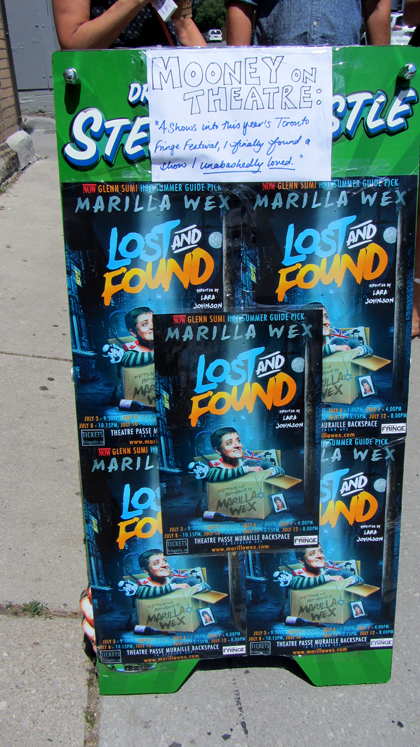
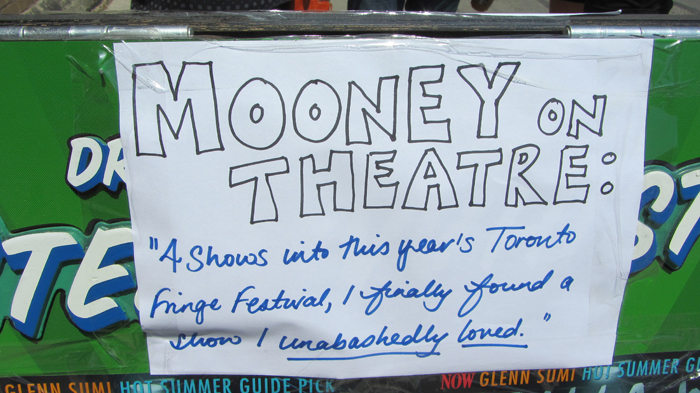
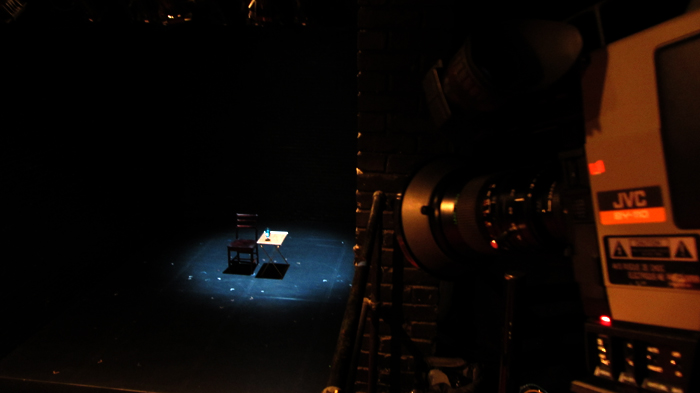
Thanks for reading, and here are some stills taken en route to the taping, leading up to the theatre entrance, and prior to the house lights fadeout:

Mark R. Hasan, Editor
Big Head Amusements