The Sony GV-D1000: Dumping SD to HD
I’m slowly catching up on blogs after a busy summer and getting hit with the TIFF cold – amazing how much piles up when you’re down for a few days – but before I post the next installment on making Marilla Wex’s Lost and Found, here’s a brief explanation on how to connect Sony’s GV-D1000 mini DV.
But first a quick digression.
The GV-D1000 seems to have been part of a wave of ‘video walkmans’ Sony produced in the late 1990s / early 2000s, and being Sony, there were many models rather than just a few targeting general and prosumer users, making things a bit frustrating for filmmakers wanting the idea unit.
The models numbers are floating around in the ether of the net, but there were 8mm (Video 8) and Hi8 units, models that apparently didn’t come with the LCD screen (why do that?), the aforementioned GV-D1000 miniDV unit, and a higher end HD unit. Sony also made PAL versions for the European market. One could also get optional TV tuners that snapped into place on the left side and watch / tape TV.
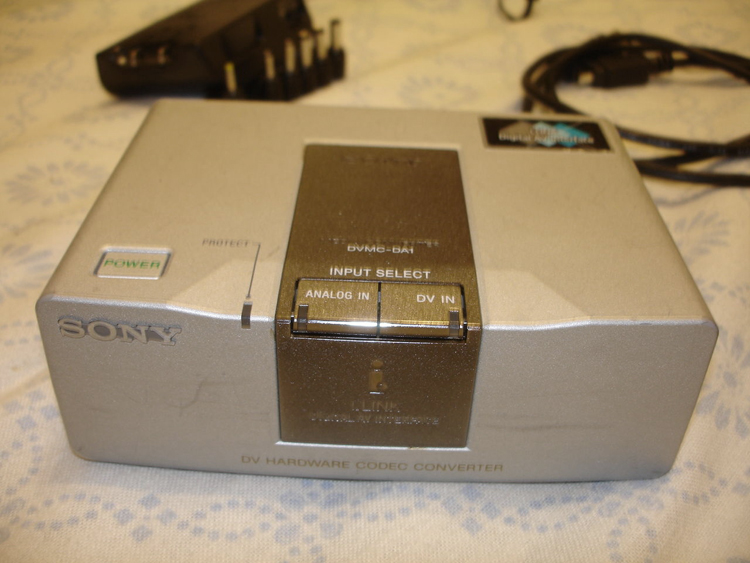
To add a bit more confusion, Sony also made something called a DVM-DA1 analogue-digital converter (see above), which is apparently a tapeless, screenless component of the walkmans – you plug in S or composite sources into the unit, connect to another firewire unit (like your computer), and tell it which way you want the signal to flow – to a computer, or from a computer.
That instant conversion feature has probably kept the GV-D1000 active on Ebay because sale prices and values are still strong. Used models with the player / recorder no longer functional can still be used as analogue-digital converters, since it’s a great pass-thru unit that can send audio & video to and from a computer. (‘Printing’ to tape is a bit trickier, and I’ll save that detail for a later blog.)
My Sony’s player / recorder now has the dreaded error message 31:23 or something, as it no longer likes to play / record tapes. The units seem to develop issues where the tape transport components get funny, sometimes due to a tiny pinch roller that comes off or breaks. (There are YouTube videos on self-repair.)
As a pass-through unit, the GV-D1000 is great in part because it also has its own TBC, although if you’re planning on dumping glitchy video with ho levels, the image will break up digitally, resulting in blocky sections resembling puzzle pieces.
Additionally, if the ratio of the analogue video is inconsistent, the Sony tries to lock onto it, and the ratio will shift – something you’ll have to fix by stretching the footage once it’s in Premiere.
Now then.
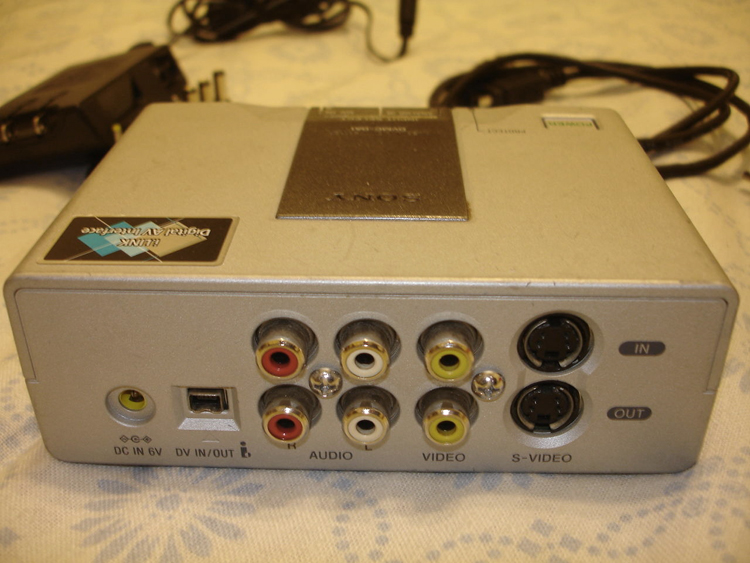
The GV-D1000 allows you to send composite and SVHS video to a computer using its firewire connector. The unit won’t send composite video if there’s a cable plugged into the S-jack, so make sure you only have one or the other going into the unit.
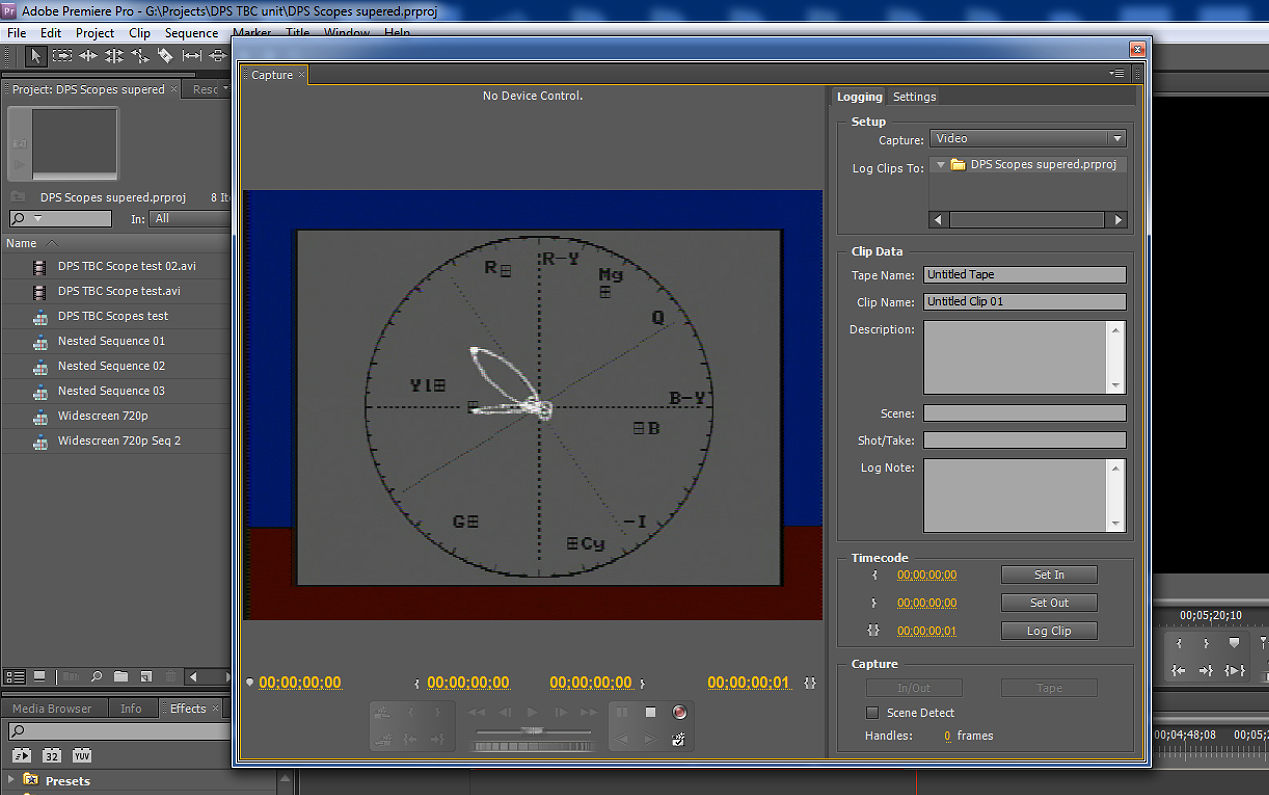
In terms of settings within Premiere, you can have it set up to having “No Device” which means Premiere will start capturing videos from whatever’s plugged into the GV-D1000 – you just have to hit the Record button.
Specifying a device allows you to control starting, stopping, rewinding, forwarding, and pausing a tape using the GV-D1000 or a variety of media units, including Sony and Canon cameras.
I’m not sure how much specifying a device in Premiere / Edit / Preferences / Device Control affects individual projects, as you can do the same in a project via the Capture / Settings tab, under Device Control.
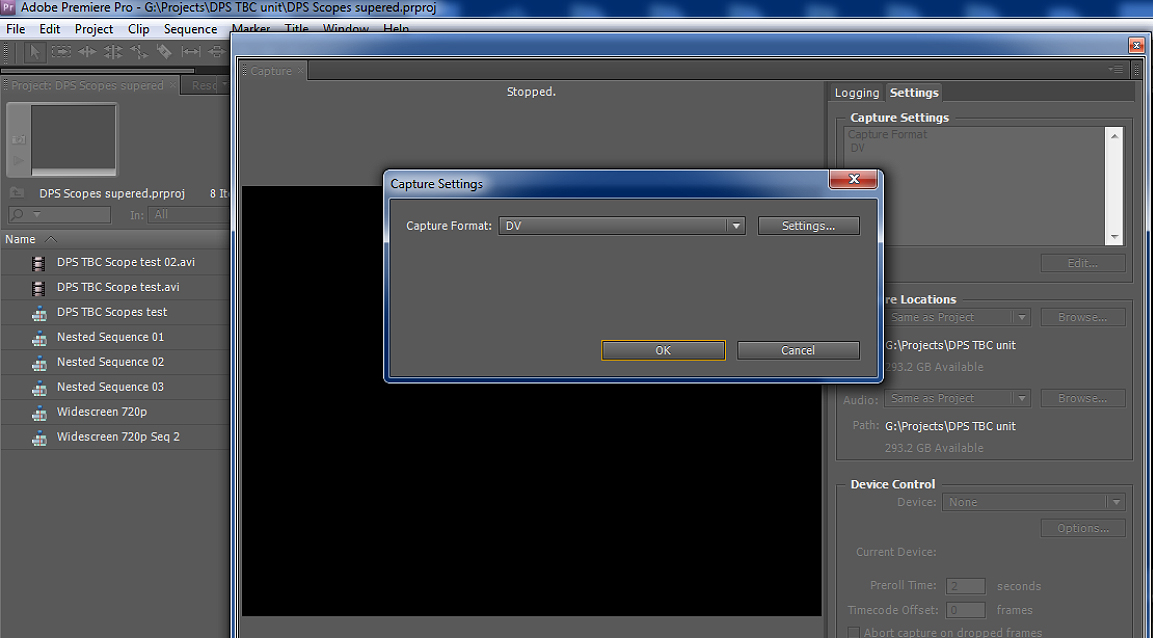
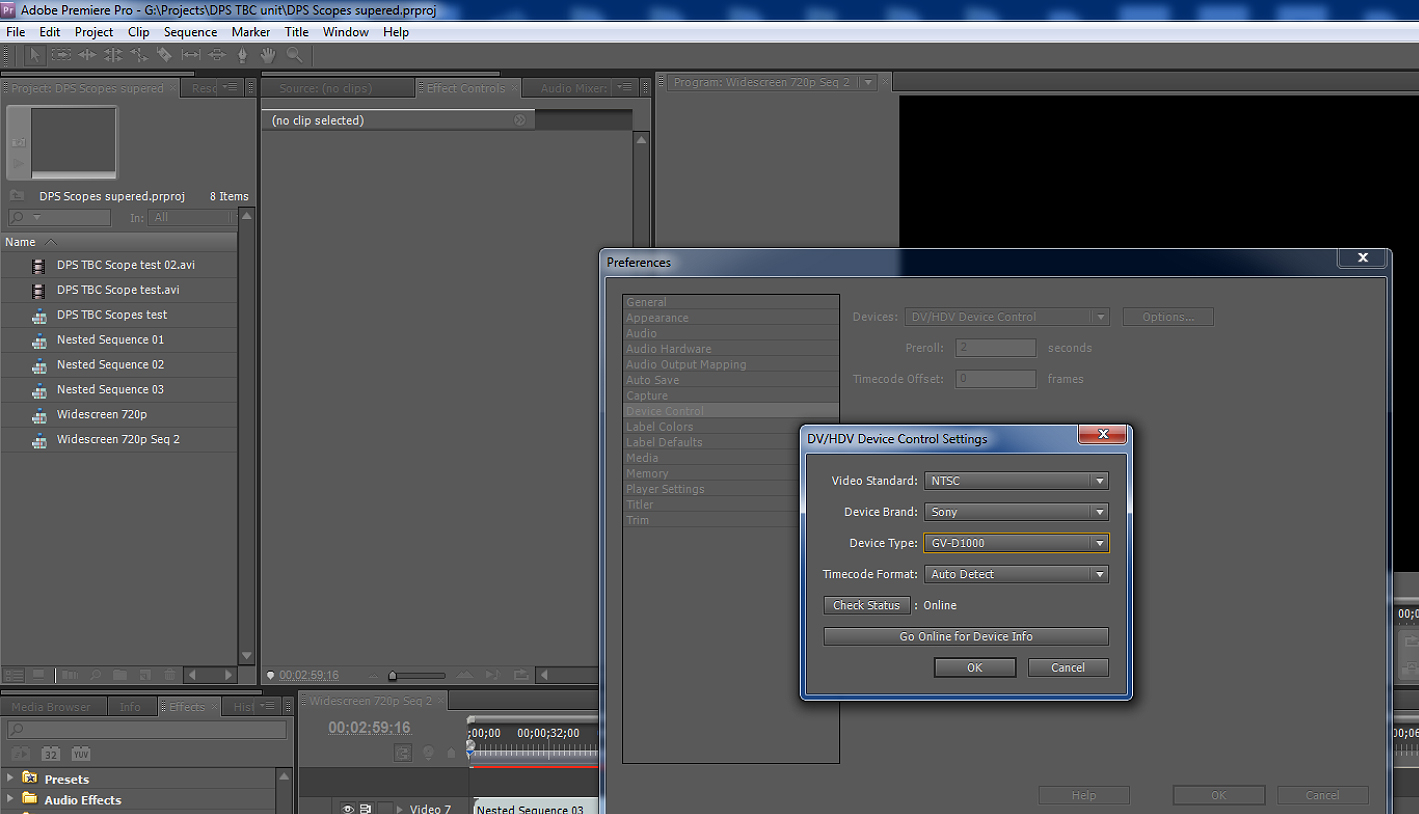
First, make sure Capture Format settings in the Capture menu is on DV – the Sony is not HDV, and you won’t get a picture if it’s set to the latter.
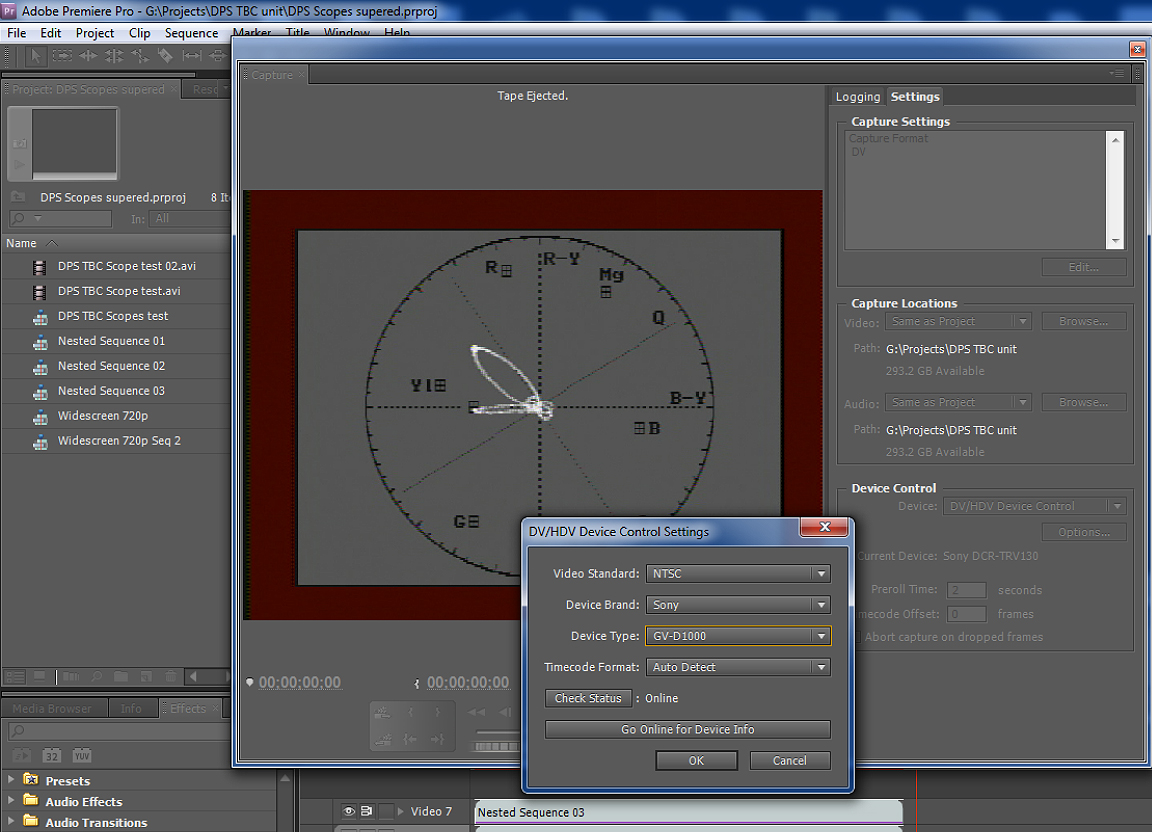
Second, to control the GV-D1000, on the Settings tab, go to Device Control. If you’re working in NTSC, select NTSC as Video Standard; Device Brand as Sony; and Device Type as GV-D1000. (If you’re using a Sony camera, if your’s isn’t in the drop-down list, pick something close to that mode, as Premiere should be able to recognize it.)
I leave Timecode Format on Auto Detect.
You can hit the Check Status bar to make sure it sees the camera, which should display the term “Online.”
If you don’t want to control the camera or GV-D1000 player and prefer to manually cue sections for hard drive dumping, set the Device Control to None; Premiere should still get a video signal, and you should be able to record whatever you’re sending by hitting the Record button in the Capture menu.
A few quick things to note:
— If you’re not planning on recording any audio, in the Capture menu (upper right corner), under Setup, set Capture to Video so you’re not wasting space with dead or redundant audio track
— Make sure your Capture Locations are correct – there’s nothing more annoying than dumping footage and discovering it’s in the wrong directory, mandating a cut & paste routine, and telling Premiere where the footage now resides.
— The footage you see and hear in Premiere will have a slight time delay from what’s displayed in the GV-D1000’s LCD screen. If you’re recording footage live from a camera through the GV-D1000 into Premiere, make sure you’re using the Sony’s LCD screen to choreographed action, but when it’s time to stop the recording, go by what’s in Premiere’s capture window, since that’s at the end of the capture chain.
When you’re getting ready to capture, make sure the sequence you’re using is in the resolution you want – for miniDV, I tend to favour DV NTSC, Standard (for fullscreen) 48 kHz.
Before dragging the footage into the timeline of your main project, you’ll have to decide beforehand whether to treat the footage as interlaced, or de-interlaced with Lower field set. The former preserves both vertical & horizontal lines, but you will see those sharp horizontal lines when there’s lateral movement. You can de-interlace a project when rendering, but I find it’s not that effective – the image looks better when you’ve pre-selected the lower frame setting prior to dragging it into the timeline.
To do this: right mouse click on the footage, go to Modify, select Interpret Footage, and make sure you select a frame rate of 29.9700; and Field Order as Lower Field First. I leave the Pixel Aspect Ratio at .9091.
If you forget to pre-select the Field Order, you can do it within the timeline by right-clicking on the footage, going to Field Options, and selecting Always Deinterlace. If you’ve already started a project and dragged a bunch of clips and forgotten to de-interlace, you’ll have to select each of the affected clips in the timeline and do the Field Options / Always Deinterlace, which is annoying and tedious.
Lastly, you can up-res footage by bumping its size in a timeline you’ve preset for a 1280×720 or larger in a 1080i , but there’s a lot of variable that affect the final quality of the footage.
Making it bigger doesn’t make it better when it’s ostensibly SD – you will notice a lack of detail when it’s de-interlaced, hot white levels inherent to tube cameras don’t help when you want details in brighter parts of the footage, and up-resing to something higher than 1280×720 mandates the least compression possible to ensure the final render looks good.
I try not to up-res footage until its in Premiere because I figure if you’re boosting SD footage to HD quality, then further fiddling within Premiere, and then selecting another variant in the render process, things might get a little mushy in details or colours. You may find yourself wondering why the raw AVI footage you dumped onto the hard drive looks so much better than what’s in the final edit.
It’s ultimately a subjective choice as to what looks good to you, and don’t be surprised if hours or days go by trying out various combinations.
The Sony GV-D1000 is a miniDV recorder / player, and will not accept 1080p footage through its firewire connection (at least my efforts didn’t work. Video can only be captured when the settings are for DV – NTSC).
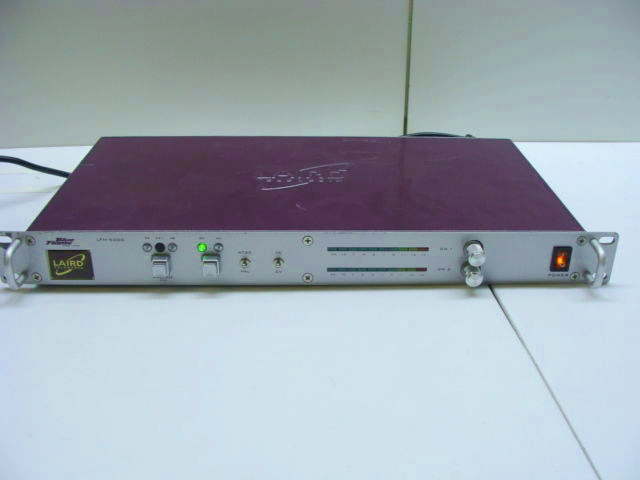
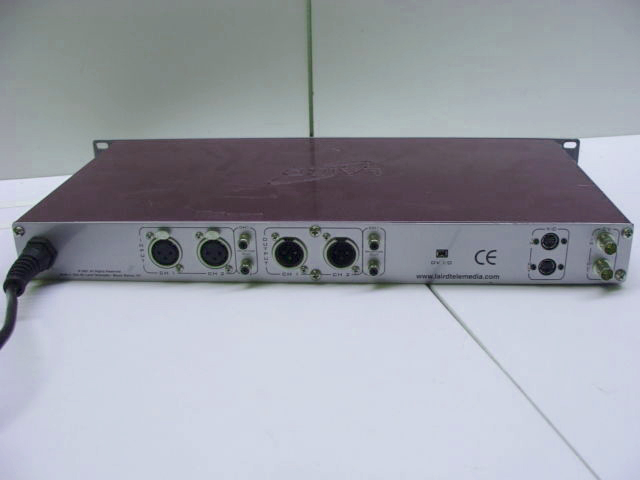
I’ve another A/D converter – a Laird LTM-5500 Blue Flame gizmo, – but it’s really picky. Premiere recognizes it when it’s set to No Device, but there are often missed frames, whether I’m caturing SD or SVHS footage. I don’t know if it only works when a player / camera and the Laird is genlocked to a solid blackburst to ensure solid sync.
You can’t plug in a VCR to its composite input without losing frames – the video is just too unstable for its circuitry – and the unit only accepts balanced audio, so you’ll need a gizmo to convert the unbalanced audio from consumer gear like a VCR to a balanced signal, plus XLR connectors, as the Laird doesn’t accept RCA inputs.
I tried its RGB connectors, but it’s a bit of a nightmare in getting the Laird to output RGB HD footage into Premiere. The Laird, like the Sony GV-D1000, is bi-directional, though, so you can dump footage from a timeline to tape if needed, using the firewire connection.
Lastly, I hope to have a blog on dumping SD footage into Final Cut Pro 7 using pro-res soon, but I was impressed with the way pro-res softens the interlaced image, and maintains a decent image.
My process using FCP 7 is the same as Premiere: miniDV tape played on the GV-D1000, sent to the iMac via Firewire, recorded in pro-res, and edited in FCP in a 1280×720 timeline. The final 1 hour program as an uncompressed A/V file is around 13GB, if I recall.
I also keep the frame rate at 29.97, mostly because I don’t use / can’t afford a high-end A/D converter, although I’m sure any new converter that’s brought into the SD-to-HD chain of filming, converting, transferring, and editing mandates a lot of experimenting until you’ve found something that doesn’t make the stomach turn.
Nothing is more frustrating in looking at raw footage, and wondering why the edit can’t look as good.
In his blog, Computer Chess’ DOP Matt Grunsky, states the following in the way footage was shot with a Sony AVC-3260 B&W SD camera and recorded in pro-res:
“Our pre tests showed that the camera’s signal would not run stable enough by itself and we had to run it through a time base corrector before sending it to an analog to digital SDI converter and finally to our AJA Ki Pro Mini which recorded in the Apple ProRes format.”
The Sony GV-D1000’s built-in TBC probably softens the process of plugging an analogue tube camera (like the JVC BY-110) much like the AJA (albeit without more modern sophisticated circuitry).
In the Comments Section of the cited page, Grunsky states the footage was recorded in pro-res 422 (HQ) 720×486, although there’s no further details anywhere as to whether the footage was up-resed in FCP or Premiere; edited in 720×486 and rendered in SD or HD; and whether the Blu-ray edition in the U.K. features a 29.97 barely compressed version of the film, or a 1080 24p up-res.
Whatever frame rate you choose is probably tied to the nature of a project, and my thinking is that since we can watch footage in so many varieties of resolutions and frame rates, unless an HD look is necessary, I’d prefer to stick with 29.97. If I was cutting an HD project in 1080 and there were a few short SD shots, I’d do the frame conversion so the project as a consistent 24p rate.
If the project had to be in 1080 24p, it would require a lot of careful tests. There are a variety of programs and plugins that are designed to address de-interlacing footage, but even from their examples on YouTube, it seems the software exists to help soften the transition from SD to HD, rather than do a magical clean-up, because in the end you’re working with low-res footage that has less visual information.
That said, vintage ENG cameras do produce lovely pictures – it’s night and day comparing footage shot with an ENG 3-tube or 3-chip camera with a consumer-grade (and even prosumer level) camera – and their high resolutions can be around 750 lines.
When the edited project is uncompressed, it looks pretty good – even the SD footage I shot in low light using the prosumer grade Canon VC-50 Pro has detail – so the trick may be as strategic as choosing a specific camera, film stock, and final timing when shooting on film: every project’s unique, and it seems filmmakers have to grab whatever info is out there, and spend time doing some custom R&D that meets their quality standards, and budgets.
I should have another blog up shortly, as one of the areas I’ve been busy with / distracted like a child with new toys are two unique video gizmos: an Atari Video Music C-240, and a very rare Showtime Video Ventures Showmaster Video Colorizer.
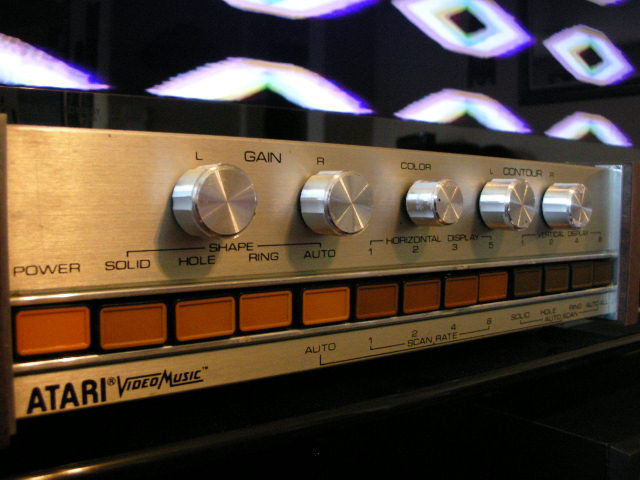
The Atari was made in 1976 and is reportedly the first commercially produced video synthesizer for the consumer market. You plug in audio, and select what level of geo-patterns to gyrate onscreen, in terms of rows, columns, and colours.
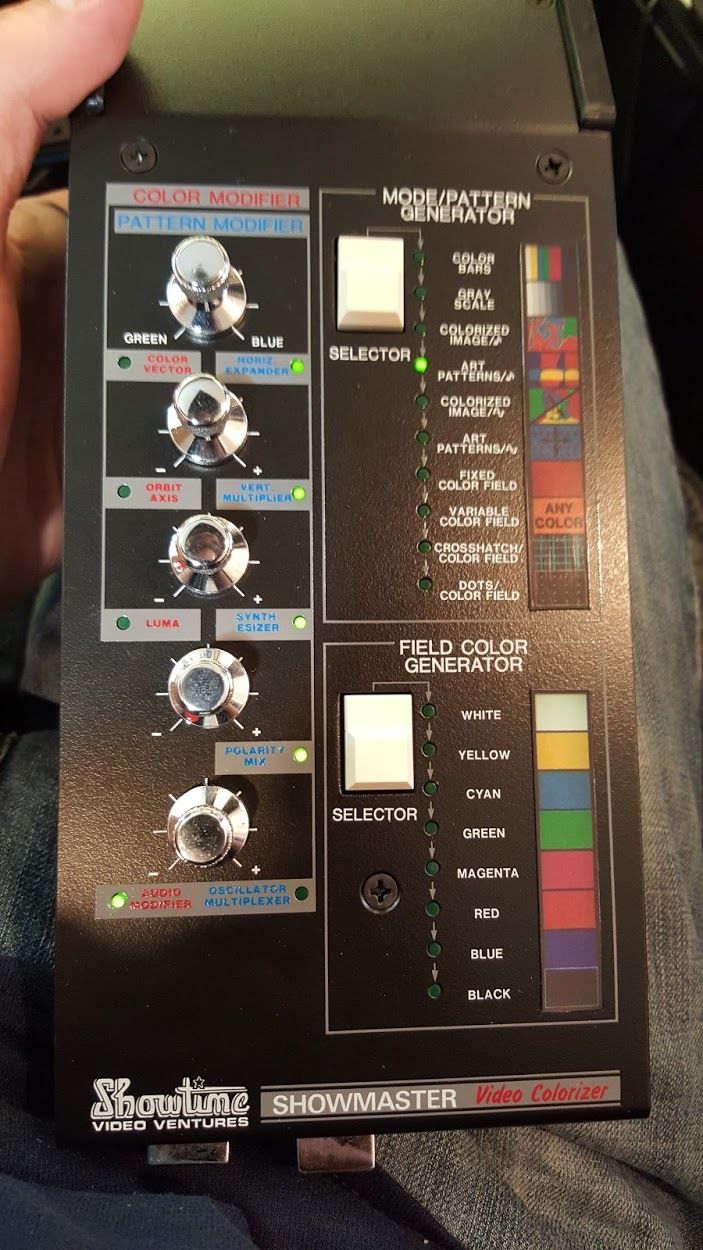
The Showmaster gizmo is a real oddity. It’s like multiple internal video mixers with looped feedback on at all times, but it’s tricky to use because of the sweet spot. Bass hits cause reactive picture changes, and the slightest turn of a knob can obliterate what you’re doing or change the colour quite radically. You’re also stuck using primary red, green, blue, and yellow, but this thing has its virtues.
I’ve done some test runs with both, and will post some short excerpts as I’m curious to what people think of the gizmos. Most of what you see of the Atari on YouTube is rather banal – it was designed to provide moving patterns displayed on TV like background visuals at a party.
Some of the geo pattern are in my short editing demo reel on Vimeo:
The Showmaster gizmo was designed to work as a colorizer and be overlaid with video using a mixer. There are (apparently) no videos online of footage treated by this peculiar device, so I want to post a short montage featuring examples of what it can do, and how the footage can be treated in Premiere with some plugins and layering.
Thanks again for reading,
Mark R. Hasan, Editor
Big Head Amusements