TV Zoom lenses, faulty viewfinders, weird lines, and a Self-Portrait
Perhaps the biggest surprise from vintage gear is that after 20, 30 or 40 years, a camera or black box gizmo or video mixer will still work; they don’t always function impeccably or are free from age-related problems, but it is pretty amazing when a piece of electronics functions in an age where technology is disposable, has built-in obsolescence, and / or it’s cheaper to buy a new one than getting the old one fixed (assuming the original model hasn’t been replaced with a newer but lesser model).
I always record the first time I start up a camera – it’s a peculiar habit of capturing the re-awakening of a dinosaur after what may be decades of slumber – and then do a series of rudimentary tests to check picture stability, colour reproduction, functionality of auto zoom and exposure knobs, and what the footage looks like when recorded to DV or DVD.
Most of the time, the camera’s core guts still work, which means it’ll output a clean picture with maybe signs of wear & tear from its prior usage, like weaker colours, or green fringing, but sometimes it’s clear a camera needs an overhaul.
The footage below comes from a 1980 Toshiba IK-1850, a surprisingly light vidicon tube camera.
I’ll get into the vertical lines in a moment, but lets address the camera’s lens.
Unlike most cameras with fixed lenses, the Toshiba takes a standard removable C-mount lens, which in this case has both manual and automatic exposure capabilities. This model could in fact be purchased with an optional lens that offered auto-focus as well.
Problems with my lens: a) its aperture is stuck in Open mode, and b) there’s no way to close it manually because the internal motor is locked to the aperture’s gears.
Most of the lenses (branded TV Zoom lenses) for consumer and prosumer cameras were made by Canon (Fuji also made a few, some of which you can find accompanying models in the Sony AVC-3200 series), and each seemed to have small custom modifications particular to manufacturers:


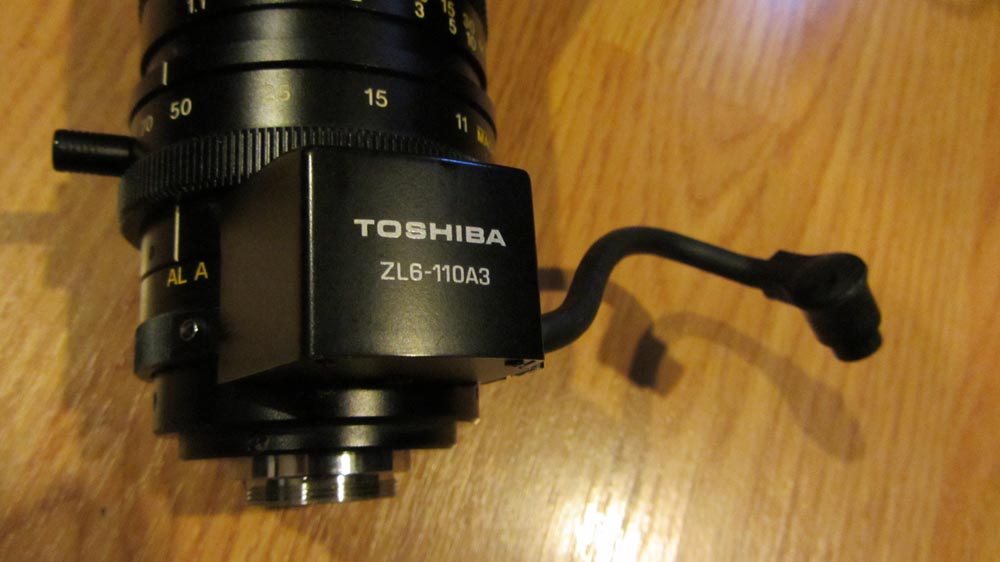
Toshiba’s lens features a sliding ring to adjust the aperture, and an upper chamber where the motor / sensor connects thru cable to the camera body:
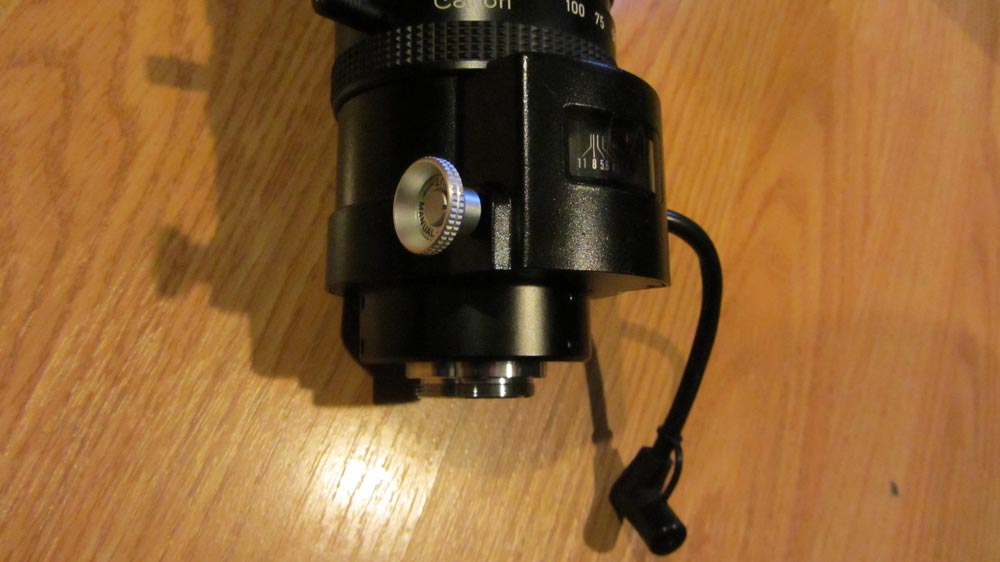
JVC’s variant has a manual knob which, when pulled out, should permit manual operation of the aperture:
Panasonic (who also made RCA’s cameras at the time) offered a full manual lens with a wider and longer ranges.
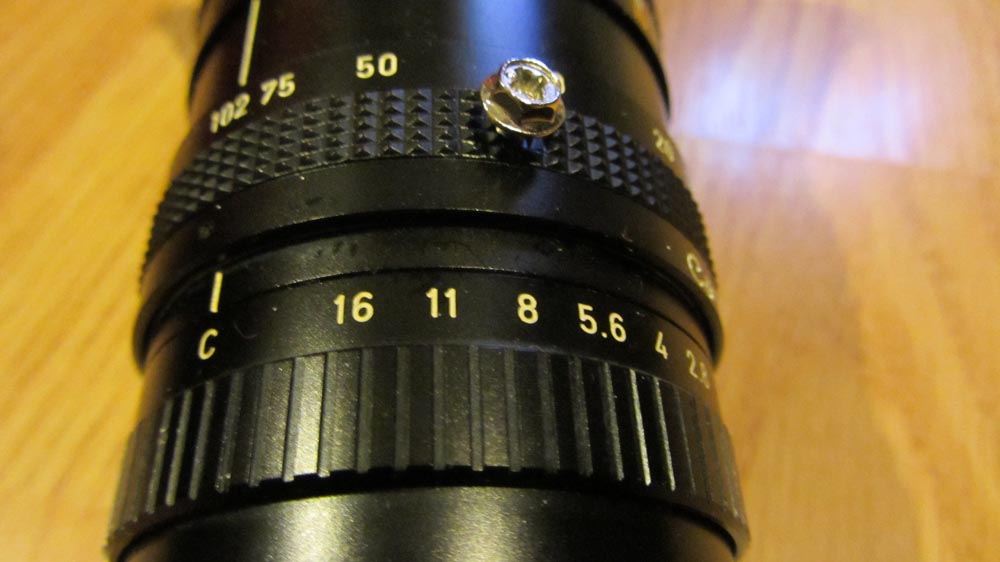
With the first two lenses, the manual override is kaput, and there’s no way to crack open the lens housing to access the aperture leaves directly. (Only the rear sections are removable.) With the Panasonic lens, you can fully control the exposure because the lens has no auto features, making this lens, and its focal range, clearly the better one to acquire for cameras that accept C-mounts. (The downside, however, is you can take advantage of a camera’s fadeout features.)
Bear in mind, though, that not all lenses will work with cameras that accept a C-mount because the focal planes in some cameras differ, so the best you’ll get is a blurry image unless you have an adapter.
I’ve also noticed that some lenses may have deeper threads that might, when screwed into the camera, go closer to the glass plate and potentially crack or damage that precious surface which helps the camera capture images, so you should compare the length / depth of the lens’ threaded end with the one you’d like to test out and make sure one thread isn’t longer than the other.
Now let’s return to the Toshiba and its fubared image.
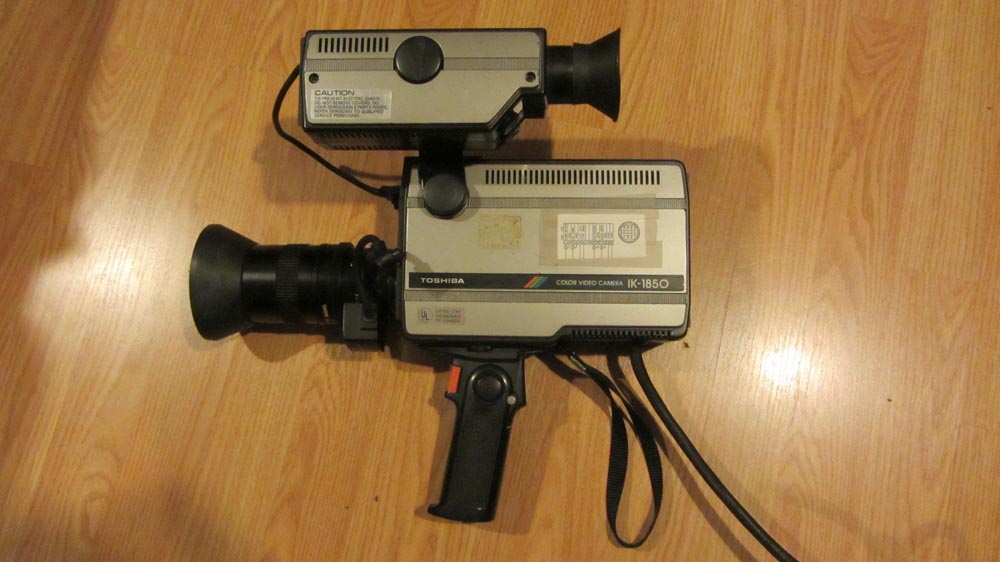
As you noticed in the video, there are hard vertical lines on the left side, yet the image itself – detail, colours – is fine, so the issue might not be attached to the tube itself, but some faulty connection or bad capacitors. I’ve no idea until I get the camera examined, but when the camera’s panels are unscrewed and pried away – this model has the easiest access panels of any camera, and Toshiba even added a label that identifies the tube you’ll need to replace in case of burnout – you can see cracks in some components:
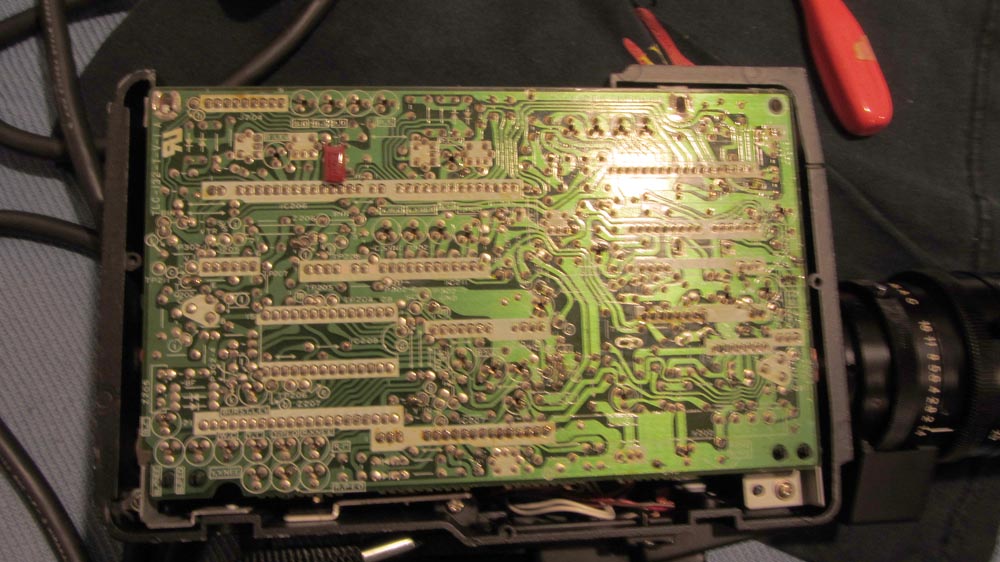
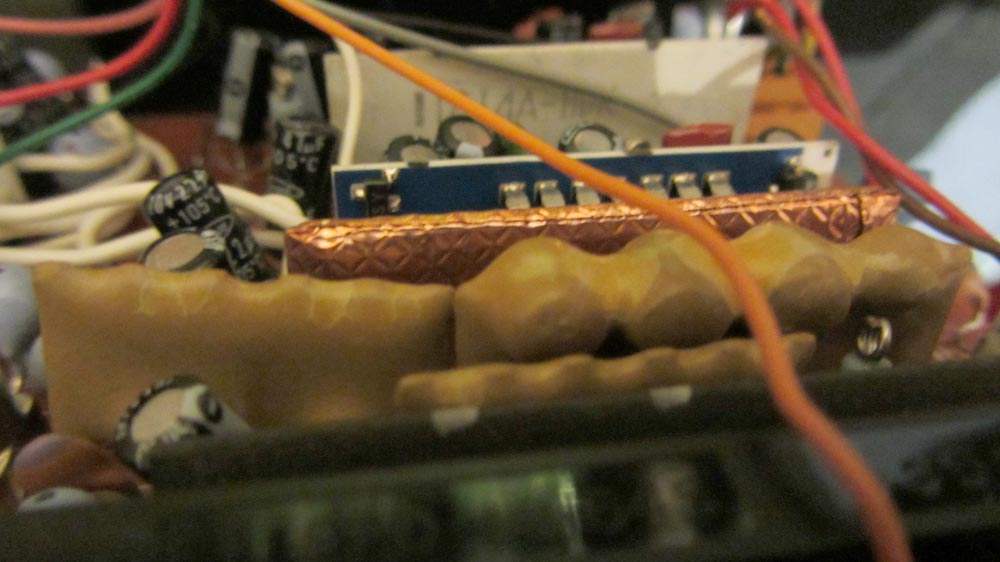
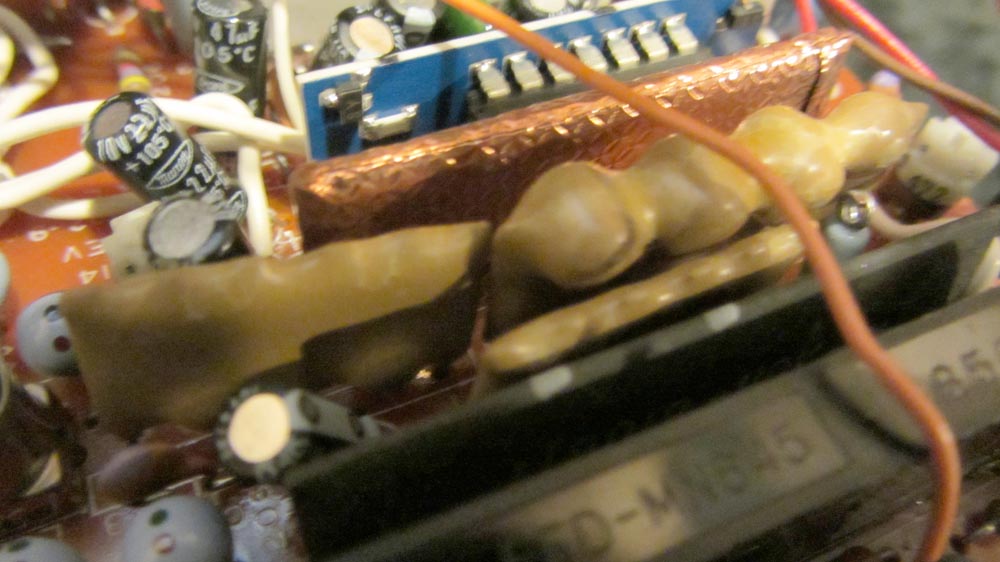
Maybe this is among the main elements in need of replacing, but let’s move on to another problem that seems to be common: bad viewfinders.
A camera’s viewfinder – detachable, or integrated within the camera’s body – is basically a small TV tube, and it accepts both images from what the camera records, and can also display what an attached VCR recorded when a tape is played back.
On both a Panasonic and an older JVC camera with detachable viewfinders I have, the camera will not record a stable picture because the circuits inside the viewfinder are bad. (When I plugged the defective viewfinder from a Quasar model into compatible Canon and Panasonic cameras, the same problems arose.)
By unplugging the viewfinder, in both cases the cameras were able to record stable / normal pictures, so as long as you disconnect the viewfinder, the cameras work. If connected, what you may see during initial start-up are what resemble black, hairy lines across the screen, and a dark green image that quickly goes bonkers, or just black.
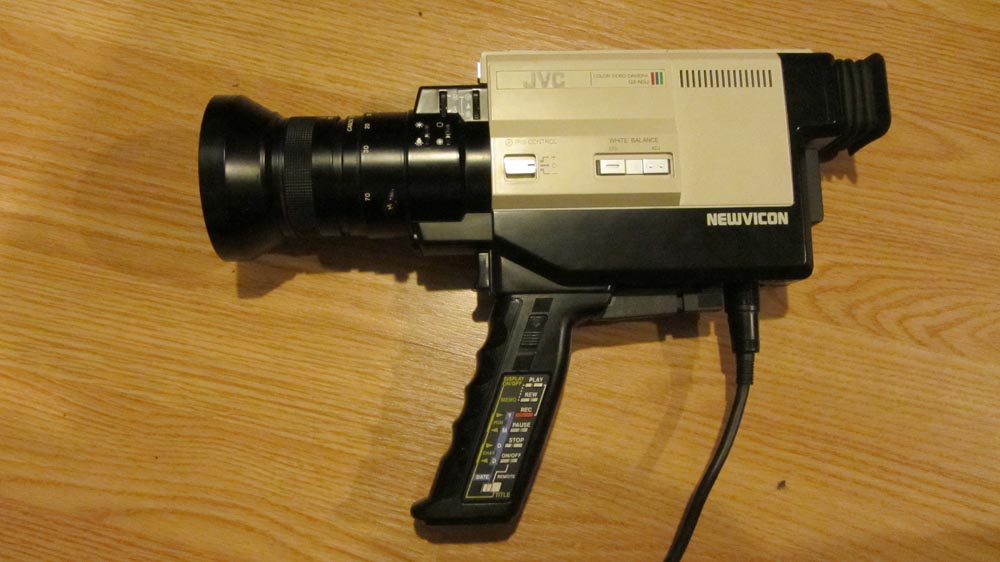
With this 1983 JVC GX-N5U (identical to the Sylvania VCC-120-BK01 I profiled in another video), the viewfinder’s internally connected, so unless you know how to open up its complicated housing, find the viewfinder’s connections, and know which wires to disconnect, you’re kind of stuck with a defective camera.
(Odd note: When originally turned on, the JVC’s image was fine, but it went bad moments later. After leaving the camera on for 2 hours, the image weirdly stabilized, and revealed a peculiar stigmata on the tube – maybe a hair or dirty that’s stuck on the surface.)
This is what the GX-N5U does when turned on:
But this is what it also does when the camera’s flaws are applied creatively in a test for a short called ‘Self Portrait,’ with overlays, colour manipulation, and other tricks:
Vimeo:
Self-Portrait (extract) from Mark R. Hasan on Vimeo.
YouTube:
Which is why even if I could fix the camera, I wouldn’t, because of its innately bizarre issues with internal sync, blown out colours, and instability with bright and dark images. You couldn’t manufacture this digitally unless you fiddled with myriad filters for hours.
Coming next: a third sample of video feedback.
Cheers,
Mark R. Hasan, Editor
Big Head Amusements
